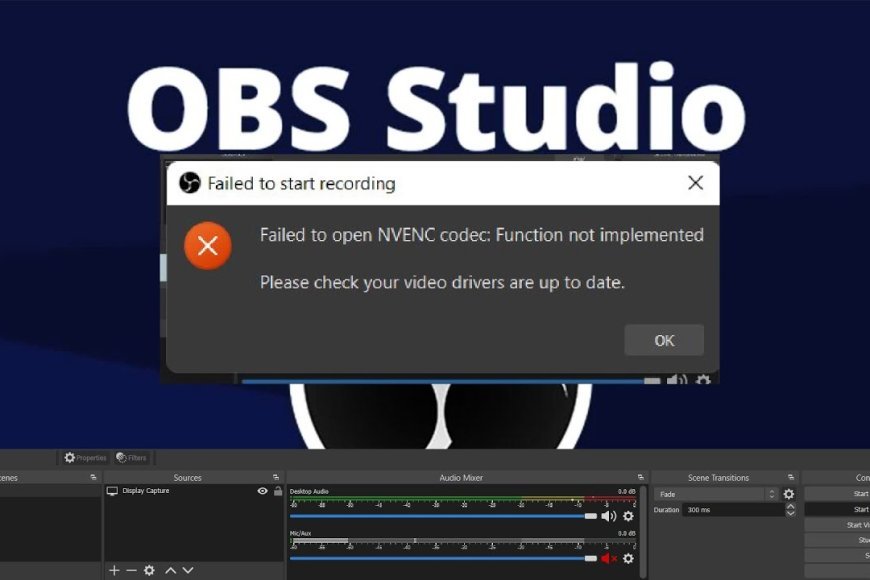
Solve the problem of Starting the output failed in OBS Studio
There are a lot of screen recording and live streaming software out there, but OBS Studio is by far one of the most popular and easy to use. However, it requires some setup and wrong settings can cause problems.
In this article, we talk about NVENC errors in OBS Studio, their causes, and how you can fix them.
What Causes OBS Nvenc Error?
As mentioned earlier, these errors are often caused by incorrect screen capture or output settings on OBS. However, other common causes include:
- Outdated GPU drivers
- GPU not supported
- Too many concurrent NVENC sessions
How to Fix OBS Nvenc Error?
Try the following 5 fixes to solve NVENC issues.
1- Restart the computer
One of the first things you should do is to restart your computer to free up any bound GPU resources that may be slowing down the process. Also, if you’re getting error messages indicating that you have too many concurrent sessions running, keep in mind that GPUs can only handle three NVENC sessions at a time, which means restarting is important to free up GPU resources.
2- Update your GPU driver
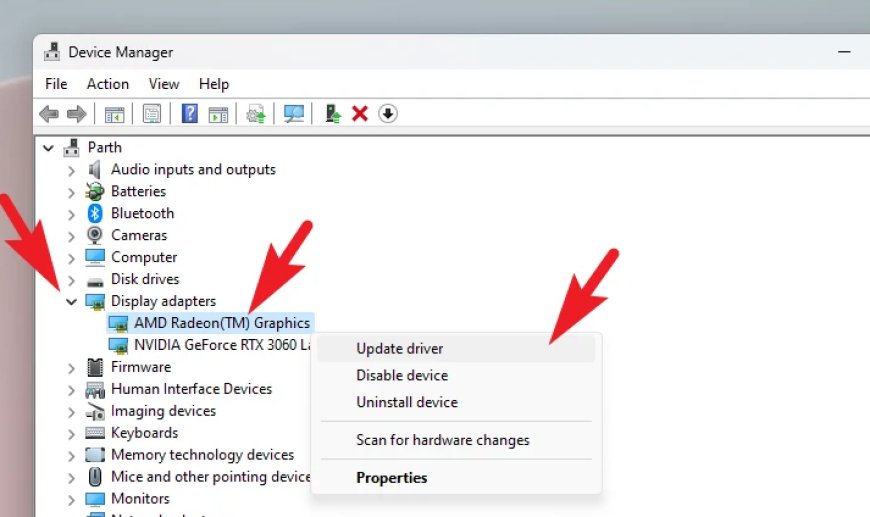
Using Device Manager allows you to monitor all drivers for any device on your computer. Here’s how to update your Nvidia GPU drivers, to do just that
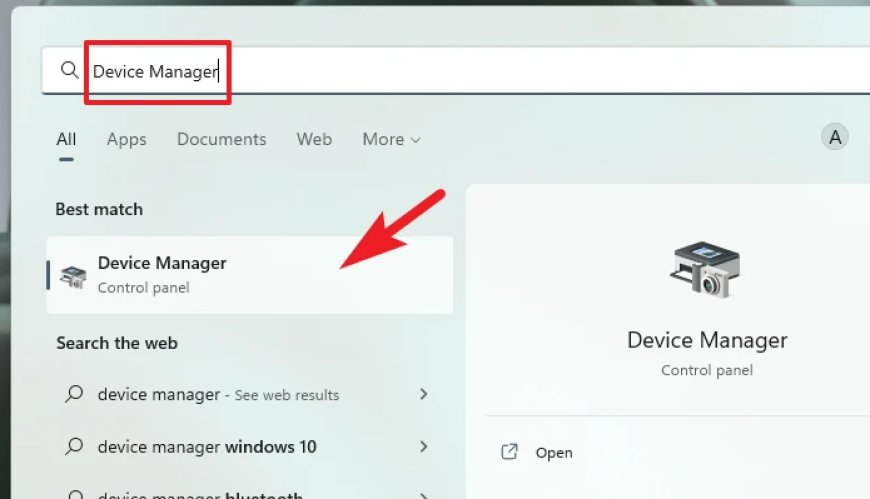
First step: Go to the Start menu, and type Device Manager To do a search for it. Then, from the search results, click on the Device Manager box to open it.Device Manager

Another way: You can also open Device Manager using “Run” command. To do this, press Windows + R keys together on your keyboard to bring up the Run command utility on your screen. Then type devmgmt.msc and press Enter on your keyboard to open it.

Step 2: Click Search automatically for drivers. Windows will automatically search for and download the latest drivers for your GPU.
In most cases, this will update your drivers and make sure they’re fine. However, if you are looking for a fresh start, click Uninstall device and restart your computer to force Windows to install the required drivers. You can then update it later.
3- Switch to QuickSync
Switching to QuickSync is often helpful if you’re getting errors indicating unsupported hardware because they’re due to software coding. Here’s how.
First step: Open OBS, click File then choose Settings.
Step 2: Head to the Output tab and select QuickSync H.264 in the Encoder drop-down menu. Make sure you are in advanced output mode if you do not see the settings mentioned above.

Save the changes and OBS should now work fine.


